Windows 10 lock screen pictures
Microsoft did a great job making an eye catching Windows 10 lock screen. Before you press enter to log into your account it always displays very unique and cool looking pictures. But have you ever wondered how you can access those pictures? Well we figured out how to find them.
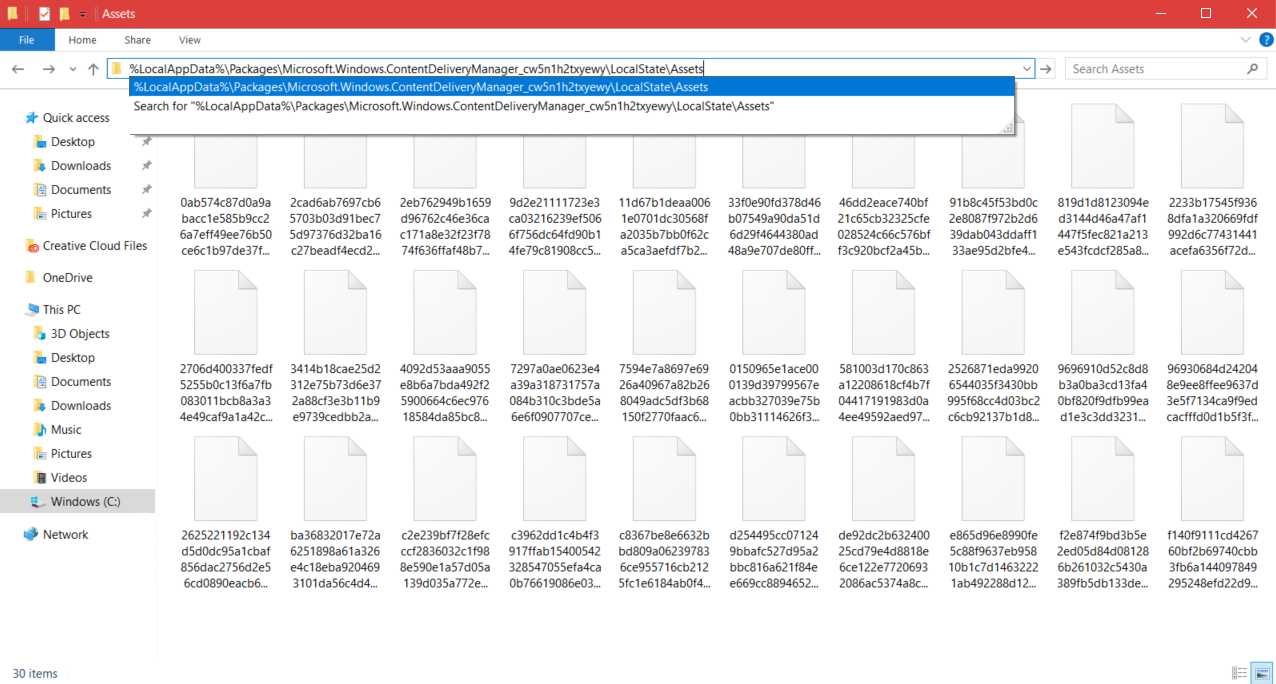
Start by going to Local Disk (C:) on your file explorer. Once you’re clicked onto the C drive you will need to copy and paste the following line in your directory path:
%LocalAppData%\\Packages\\Microsoft.Windows.ContentDeliveryManager_cw5n1h2txyewy\\LocalState\\Assets
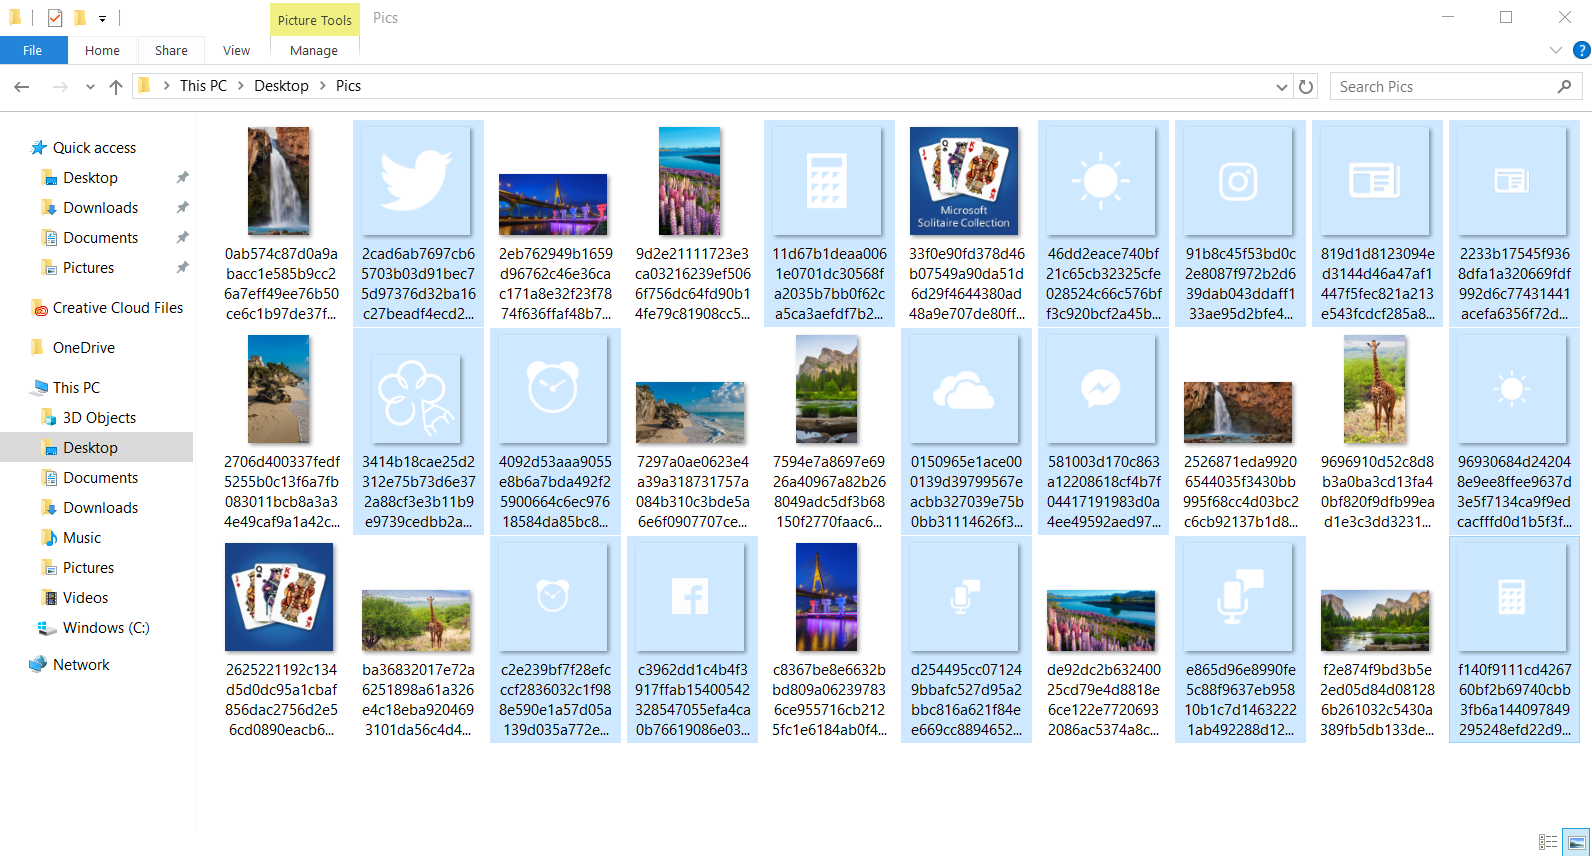
Once you press enter it should start to bring up all files used for the lock screen images. The files won’t have thumnail previews or file extensions, so they will not be usable images yet.

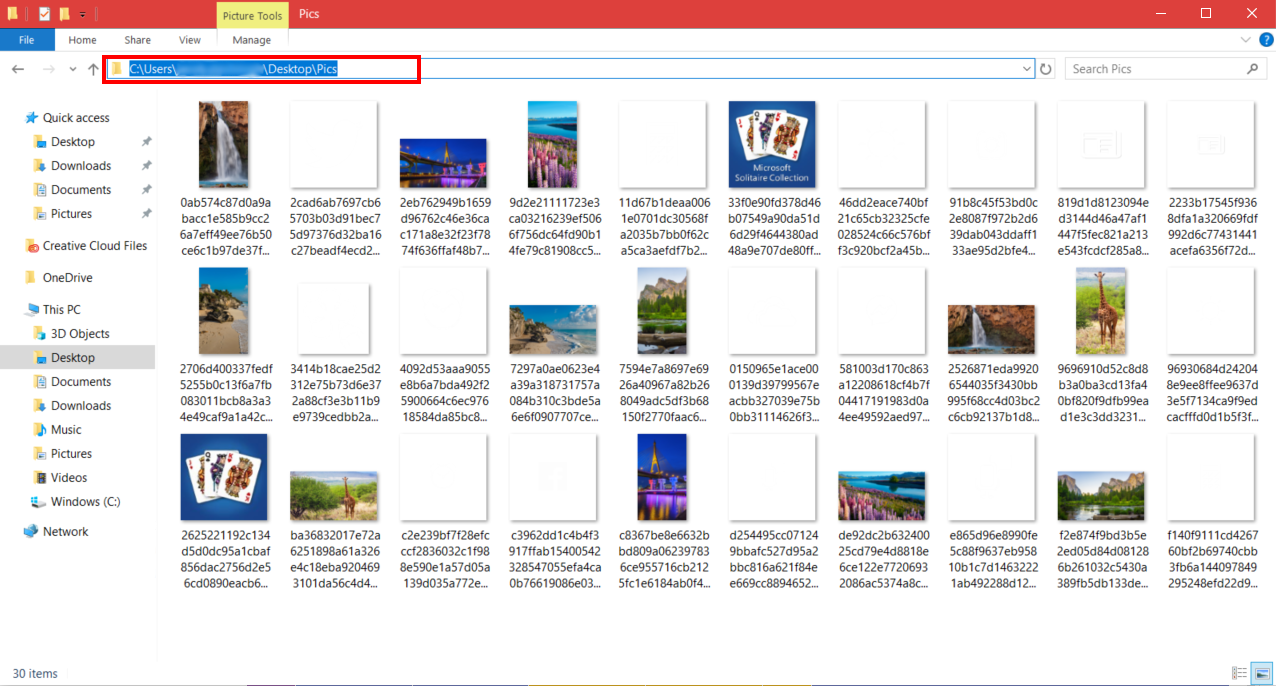
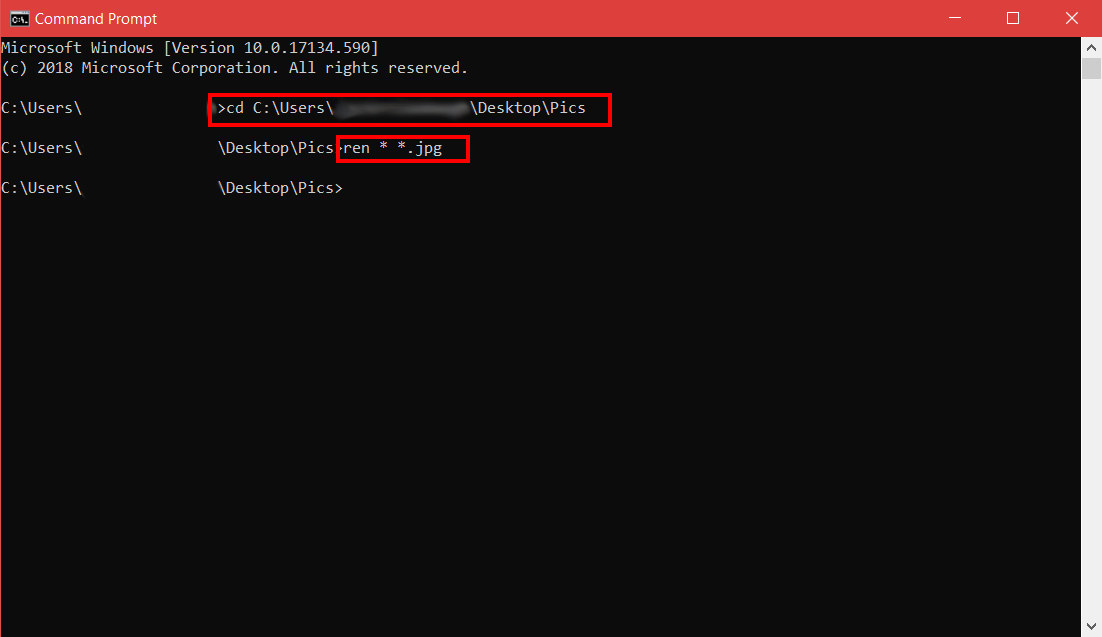
Now if you go back to the folder you stored all of those images in, they should now be jpeg image files.
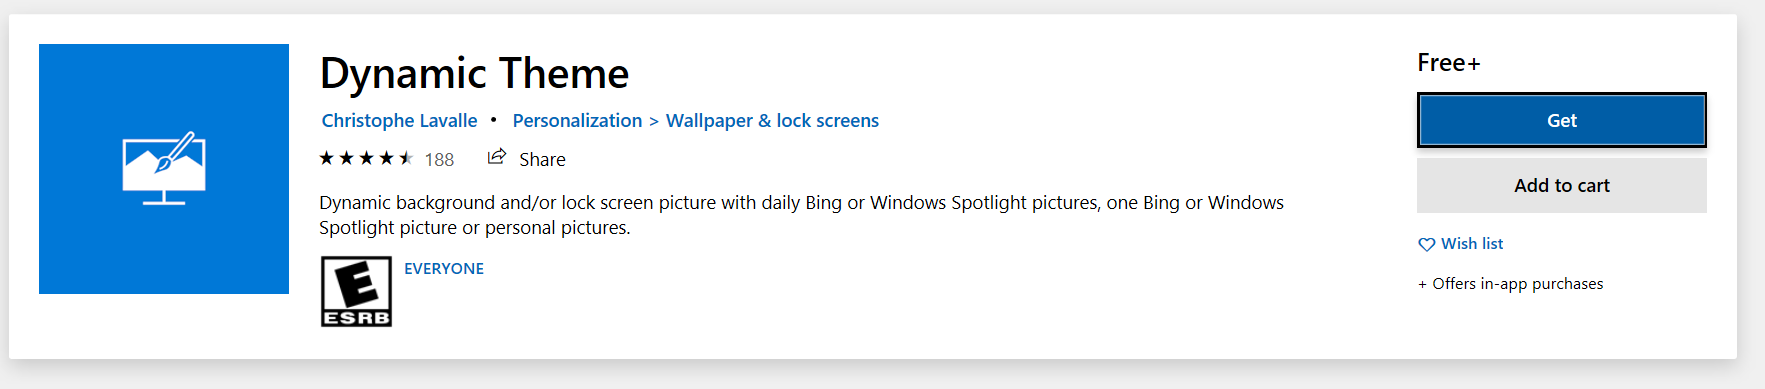
There is a much easier way to do this of course. The Microsoft Store has a free app called Dynamic Theme that will allow to to edit and save the lock screen images.